|
Prepare The Substrate
Heat Lock will work with a variety of porous substrate materials such as plywood, MDF, and particle board. Be certain that the substrate surface is free of surface contaminates and is lightly scuffed with 80 grit sandpaper.
 Wood fillers typically create a non-porous surface. And like all water-based adhesives, Heat Lock will not bond very well to a non-porous surface. When the filler area was minimal, I've had success with both Bondo and with Elmer's "Stainable" wood filler. I've also had success with Durham's Rock Hard Water Putty. Be sure to scuff sand the filled areas with 60 or 80 grit paper to get maximum bond strength.
 |
Prepare the Veneer
It may be helpful to cut the veneer one inch larger in width and length than the substrate surface. Before applying the adhesive, it is often best to "dry iron" the veneer to minimize the potential for splitting. Start by placing the veneer on a smooth, firm surface suitable for heat. Then set the iron to the medium level and allow it time to reach operating temperature. Next, move the iron over the entire veneer surface, allowing no more than 5 seconds of heat on any part.
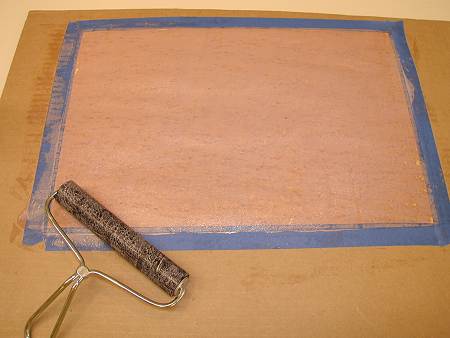
If the veneer has been cut over-sized, tape the edges to a scrap board. This will help control veneer curling and prevent the adhesive from getting on the front of the veneer during application.
Apply the Heat Lock Adhesive
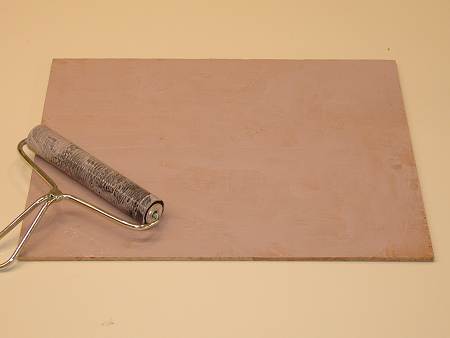
A foam paint roller or paint brush can be used to spread the adhesive, but a veneer glue roller is the best application tool because it applies a thick, even, and level coat of adhesive. The key is to apply Heat Lock evenly. This can be accomplished by drawing pencil lines on the substrate from edge to edge. If the pencil lines are half-obscured by the layer of wet adhesive, then the right amount has likely been applied.
Apply the adhesive to the project surface in multiple Z-shaped patterns. Use the glue roller to evenly spread the adhesive over the entire project surface. Add more adhesive to the surface if necessary. If the adhesive drips over the edge, it can be cleaned up (while wet) with a damp paper towel. Then apply the adhesive to the veneer in the same manner.
Allow 20 to 45 minutes for both adhesive surfaces to dry. Drying time depends on the ambient humidity and temperature in the work space. A second coat can be applied if the first appears too thin after it dries.
Unlike contact cement, Heat Lock disperses no volatile organic compounds (VOC's) so it can be applied indoors. Do not thin Heat Lock. It's formulated for optimum flow directly
from the bottle.
Clean the Application Tool
The uncured adhesive will clean up with warm water. Rinse off the roller or brush immediately after use. The adhesive begins drying quickly so do this now while the veneer and substrate are setting up.
Bond the Veneer to the Project Surface
Turn on the clothes iron after the Heat Lock adhesive on the veneer and substrate has fully dried. Set the iron to medium/high and turn off the steam option. On some irons, this will be the "cotton" setting which is approximately 193°F. Do not delay the ironing process once the adhesive has dried. The maximum time to apply heat and reactivate the adhesive is less than 6 hours under most conditions.
Wait for the iron to fully heat up. While waiting, use scissors to cut off the non-glued edges where the veneer was taped.
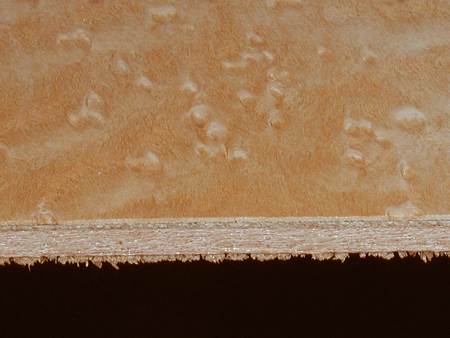
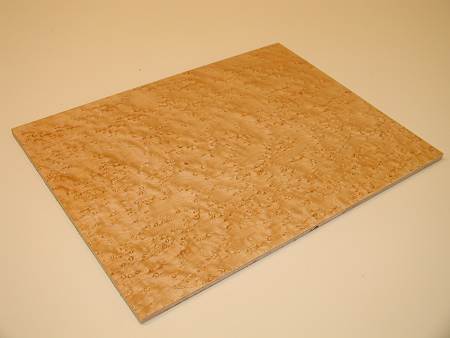
Set the veneer onto the project surface and place a cotton or flannel cloth over the veneer to prevent scorching. Begin ironing from the center and work toward the ends while applying firm downward pressure. It's best to move the iron in the direction of the grain. Generally speaking, it is not advisable to move the iron across the grain. The iron can be used in any direction on burl veneers since this kind of veneer often does not have an organized grain pattern.
A spritz of Super-Soft 2 veneer softener applied immediately before ironing may prevent splitting and can help flatten veneer that is slightly buckled. Some species such as maple, bubinga, and hickory have a tendency to split when excessive heat is applied. Veneer softener can greatly minimize this issue.
Inspect the Bond
Visually inspect the panel for any areas that appear loose or uneven after the veneer has cooled. Tapping on the veneer surface with your fingernail can help identify poorly bonded areas. Listen for a hollow sound while tapping, which may indicate a weak bond. These are areas where the adhesive was not fully heated. Also check the edges of the panel for a tight bond. Re-heat areas that did not bond properly. Turn off and unplug the iron when finished.
If you're still unsure of the final bond, lightly spritz the surface of the veneer with water and wait 3 to 4 minutes. This will cause the veneer to swell and any poorly bonded will bubble-up. Just re-heat those areas and you're done!
|