|
Ok...
Let's Tape!
Before you begin taping the seam, make sure the edges are clean and true. If they do not butt together perfectly, you'll need to trim them with a veneer saw.
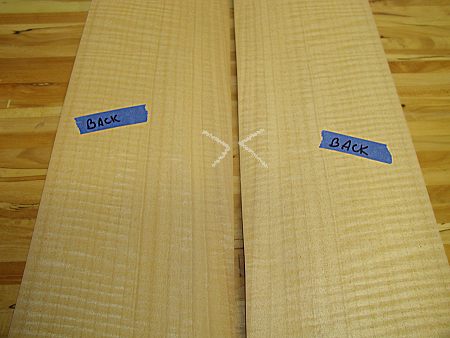
Most veneers are smooth on both sides so technically speaking, there is no back side. The "back" of the veneer is which ever side you choose to be glued to the substrate. However, in the case of some burls, there can be tear-out present more on one side than the other. In that case, use the sides with the most tear out as the "back".
Mark the "back" side of the veneer as shown in figure 1. There
are two markings on each sheet. The first is the blue tape indicating
that this is the back of the veneer. The second marking is light
chalk indicating which two edges are to be taped together.
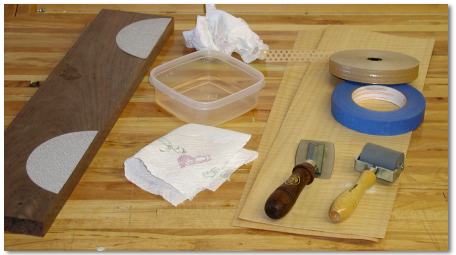
The
blue tape, commonly called painter's tape, is available at
your local hardware store in the paint aisle. It's expensive but
won't use much so a roll will last a long time. You can find a stretchable version, which is even better than regular painter's tape, at VeneerSupplies.com.
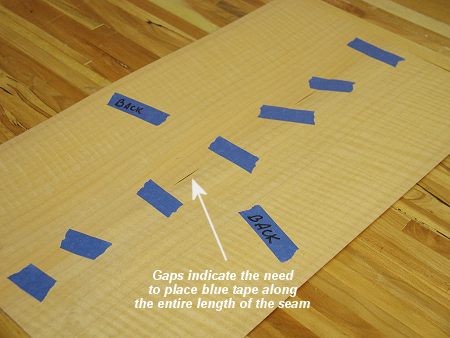
Carefully
pull the two veneers together tightly and place small pieces of
blue tape across the seam as shown in figure 2. Remember, the
blue tape goes on the back of the veneer. If the veneer is
being stubborn and does not lay flat across the whole length of
the seam, place a strip of blue tape longitudinally on seam as
shown in figure 3.
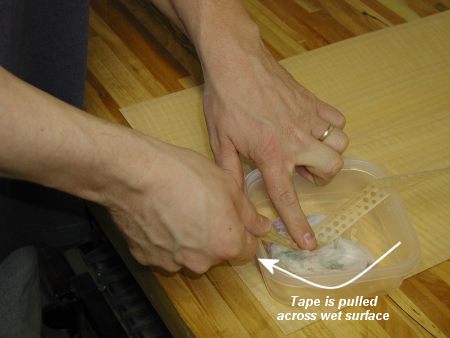
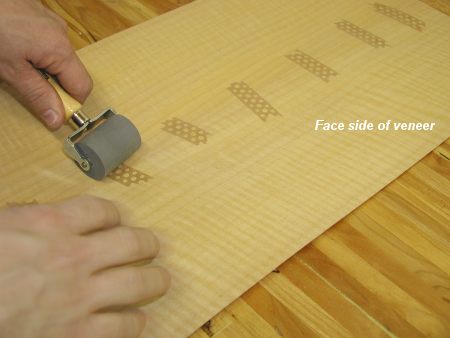
Next,
tear off a few dozen small "cross strips" of veneer
tape. These will be placed perpendicular to the veneer joint about
3-4" apart on the face side of the veneer. To activate veneer
tape, simply slide a piece of it along a very wet sponge or wad
of paper towels (figure 4). Remember... the adhesive is on the
shiny side of the tape. Be careful that you don't saturate the
tape with water. Excess water on the veneer tape will cause
the adhesive in the tape to bleed into the wood fibers and that can create issues with the project's stain and top coat.
Roll the veneer tape smooth with a seam roller (figure 5).
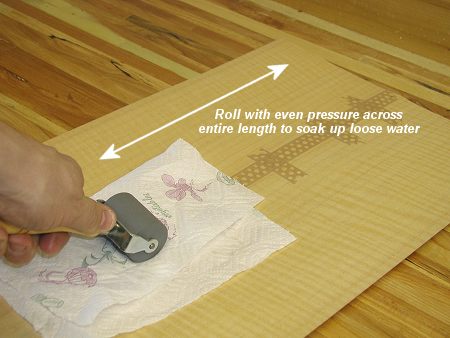
Then
place a piece of veneer tape along the entire length of the joint.
Lay a piece of dry paper towel on the seam line and firmly smooth
out this last piece of veneer tape with the seaming tool (figure
6). The paper towel will absorb any excess water in
the veneer tape. By doing this, you'll prevent the veneer from
absorbing the water which might cause it to get swollen and ripple
up. And again, it would cause the veneer to stain unevenly.
Let
the assembled veneers sit for 5 minutes so the veneer tape
can "set up". Then carefully flip the veneers over and
remove the blue tape.
Since
veneer tape shrinks as it dries, it will pull the joint
tight when all of the water has evaporated. I
like to place a scrap board along the length of the seam and place
a weight on top of that. This prevents the veneer edges from stacking
on top of each other as the tape pulls the seam together. I recommend
leaving the seam under the weight for a half-hour before you put it
in the press.
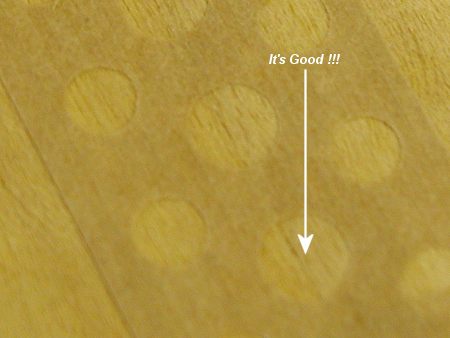
Before the veneer is placed in the press, check the seam for any areas that do not fit together correctly. If the veneer has rippled up a bit, the seam may look bad. You can check to see if the veneers have truly separate by pressing down the veneer where it is rippled. Usually, you can press the veneer flat with your fingers and see the seam go back together. If it does, you are in luck because the platens in the veneer press will force the veneer flat and once again, the seam will come together. |